


How to Restore a Rusty Bike Chain Using a Drill Wire Brush Wheel (Beginner-Friendly Guide)
If you’ve ever pulled an old bike out of the garage and heard that awful grinding sound the moment you start pedaling, you already know what you’re dealing with: rust.
A rusty bike chain and cassette don’t just look rough; they steal your power and take the fun out of riding. Your shifting becomes sloppy, the noise is frustrating, and worst of all, a rusty chain can snap under load, ruining your weekend or even causing an accident.
But here’s the good news: you probably don’t need a full drivetrain replacement. You don’t even need to take any parts off the bike if you don't want to.
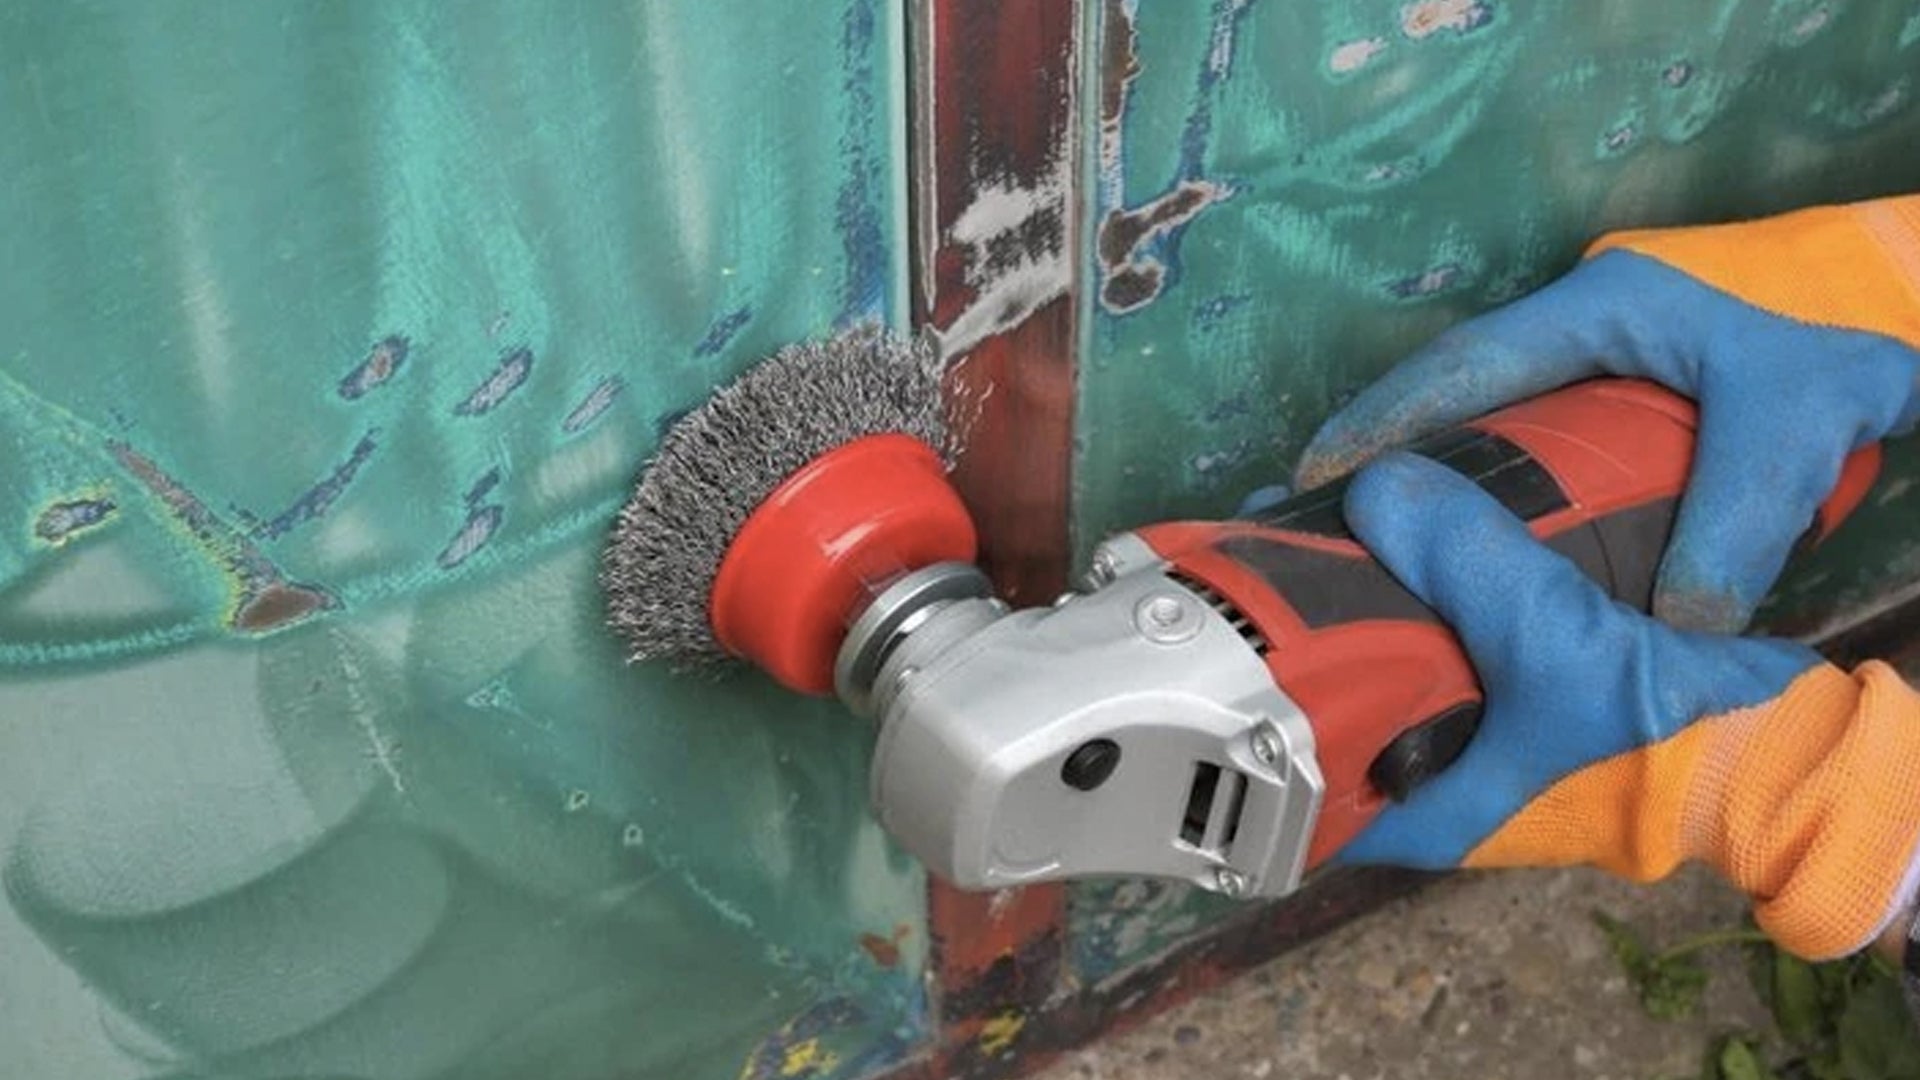
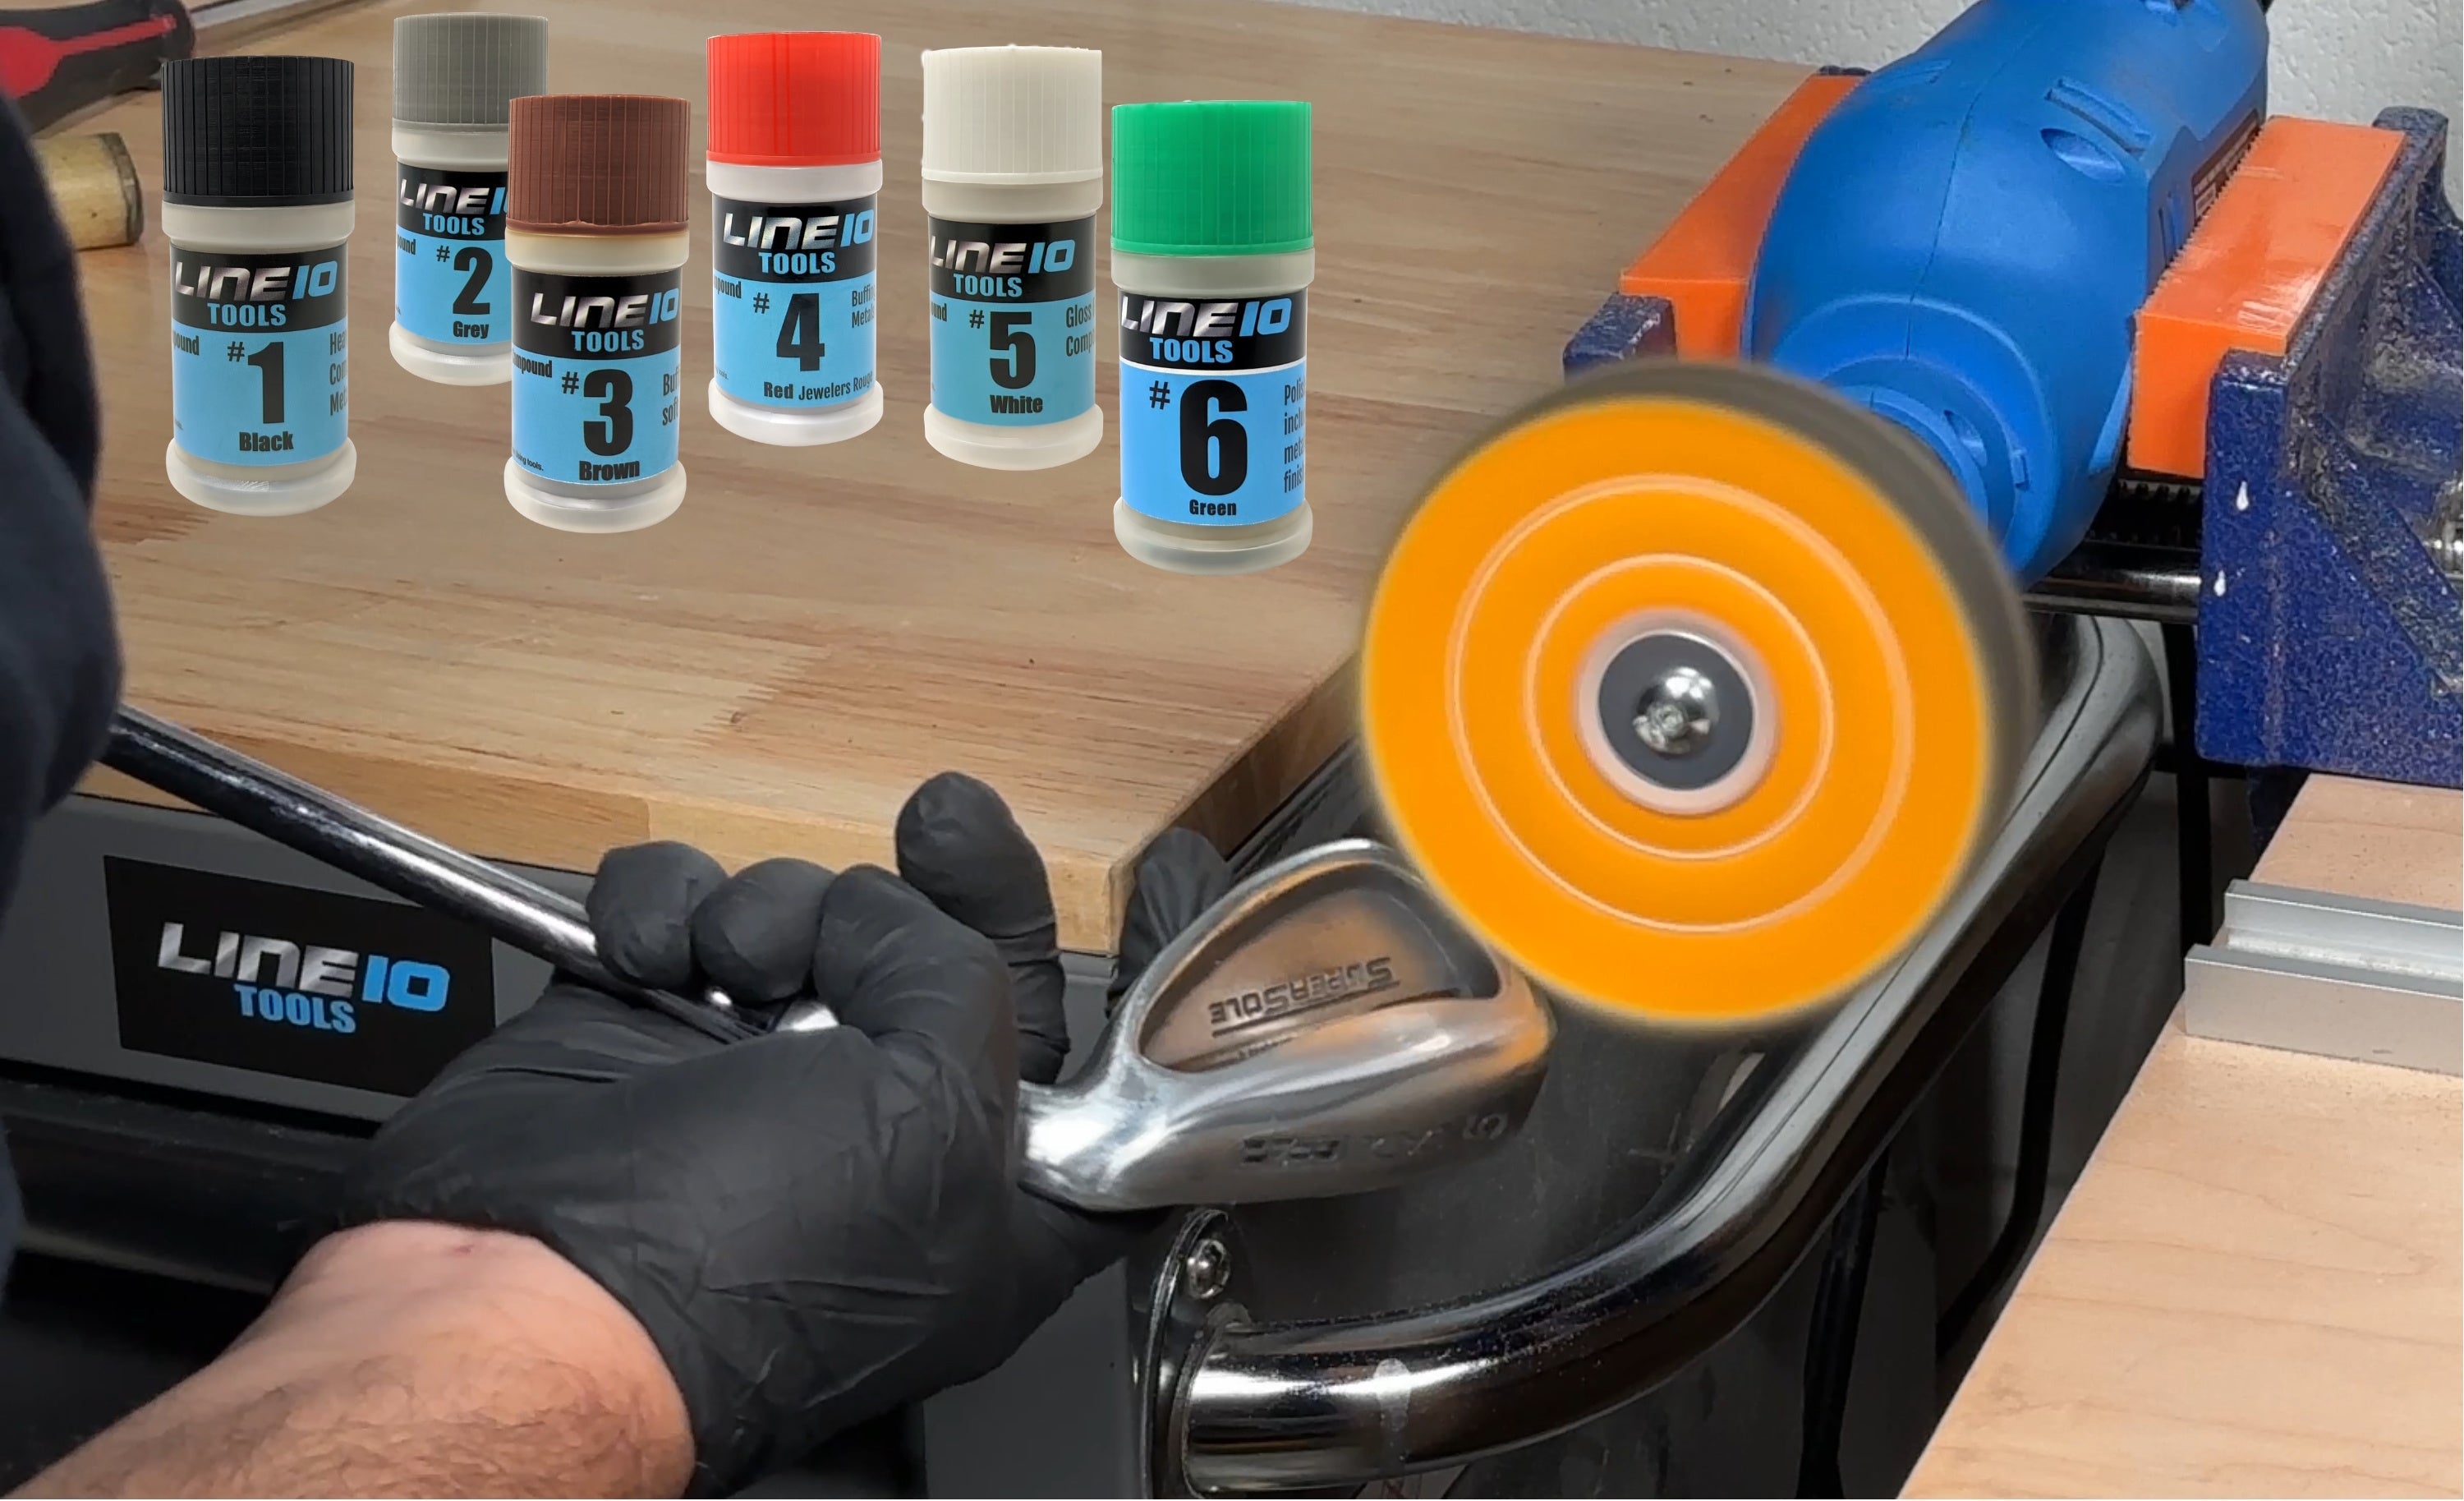
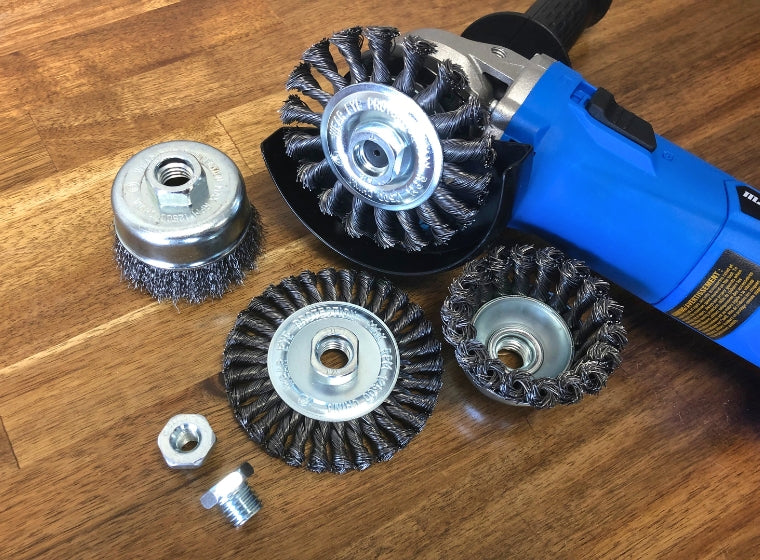
With a drill, a rust cleaner (like WD-40 or penetrating oil), and the LINE10 Tools 4-Inch Wire Brush Wheel Kit, you can knock out years of rust in minutes and bring that drivetrain back to life.
This guide walks you through exactly how to restore a rusty bike chain, step-by-step, using the same method demonstrated in our recent restoration video. Whether you're a first-time DIYer or someone who wrenches on their gear every weekend, this technique is fast, effective, and surprisingly satisfying.
Why a Drill Wire Brush Works So Well on Rust?
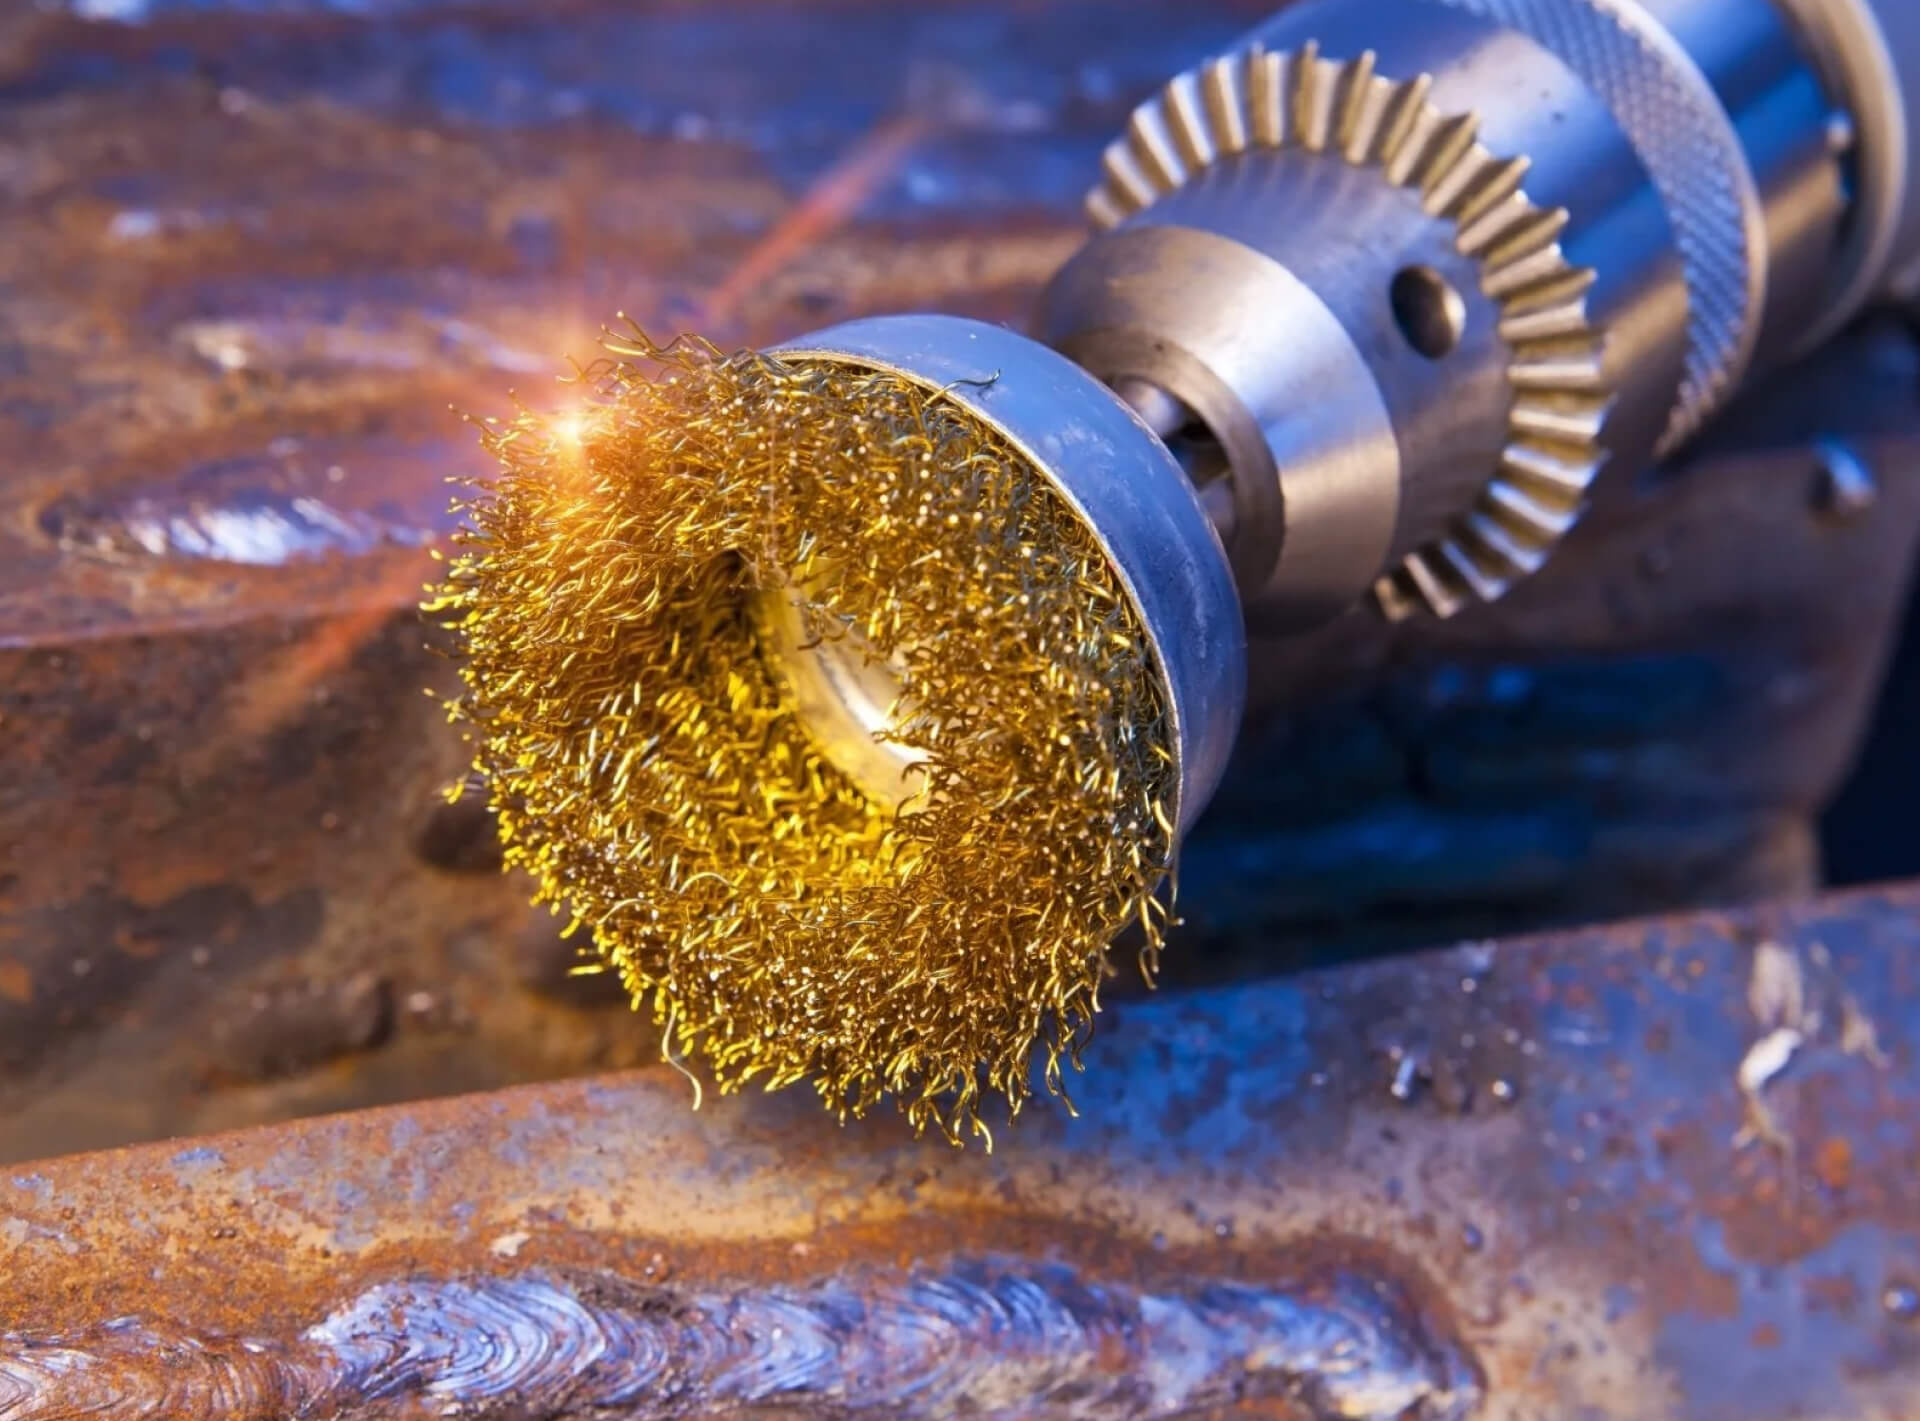
Most people try to clean rust by hand with a tiny brush or a rag and give up halfway. Rust is stubborn. It clings to metal and gets inside the rollers, teeth, and corners of every gear on the bike. That’s exactly where a wire brush wheel on a drill shines.
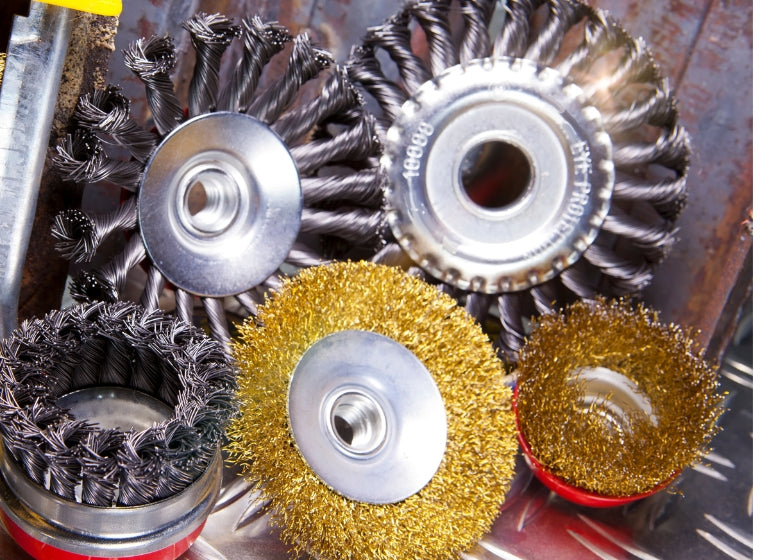
The LINE10 Tools 4-inch Wire Brush Wheel Kit is built with brass-coated steel bristles mounted on a ¼-inch hex shank. That means it:
- Snaps straight into any drill or impact driver
- Spins fast enough to lift rust without chewing up the metal
- Reaches into tight areas of the cassette and chain
- Removes scale, oxidation, grime, and old grease in one go
All that, with a lot less effort and elbow grease. The idea isn’t to grind the metal; it’s to knock-out and remove the rust layer cleanly and safely.
⚠️ Safety Check
Before you start: Always wear safety glasses and gloves. Wire wheels spin fast and can kick up rust dust or lose a bristle. Also, watch your fingers near the moving chain!
Step-by-Step Guide: How to Restore a Rusty Bike Chain
Step 1 (Preparation)
Soak the Drivetrain in Rust Loosening product like wd-40 or a penetrating oil

Don't skip this. Soaking the drivetrain in a rust-loosening product (like WD-40 or penetrating oil) softens the outer layer, allowing the brush to cut through the rust quickly.
Generously spray the chain, cassette, and any moving drivetrain parts. Make sure everything is coated, then let it sit for about 15 minutes.
This soak does four important things:
-
Softens light rust.
-
Breaks surface tension, allowing the brush to glide more easily.
-
Helps the wire bristles stay lubricated to prolong the life of the brush.
-
Prevents unnecessary metal-on-metal wear.
Step 2 - The Brushing Technique
Use Light Angle + Minimal Pressure

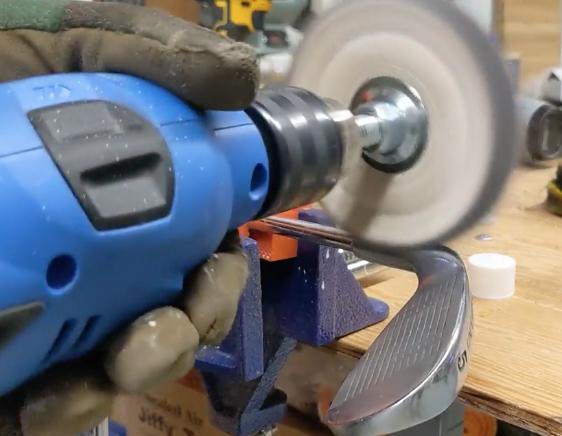
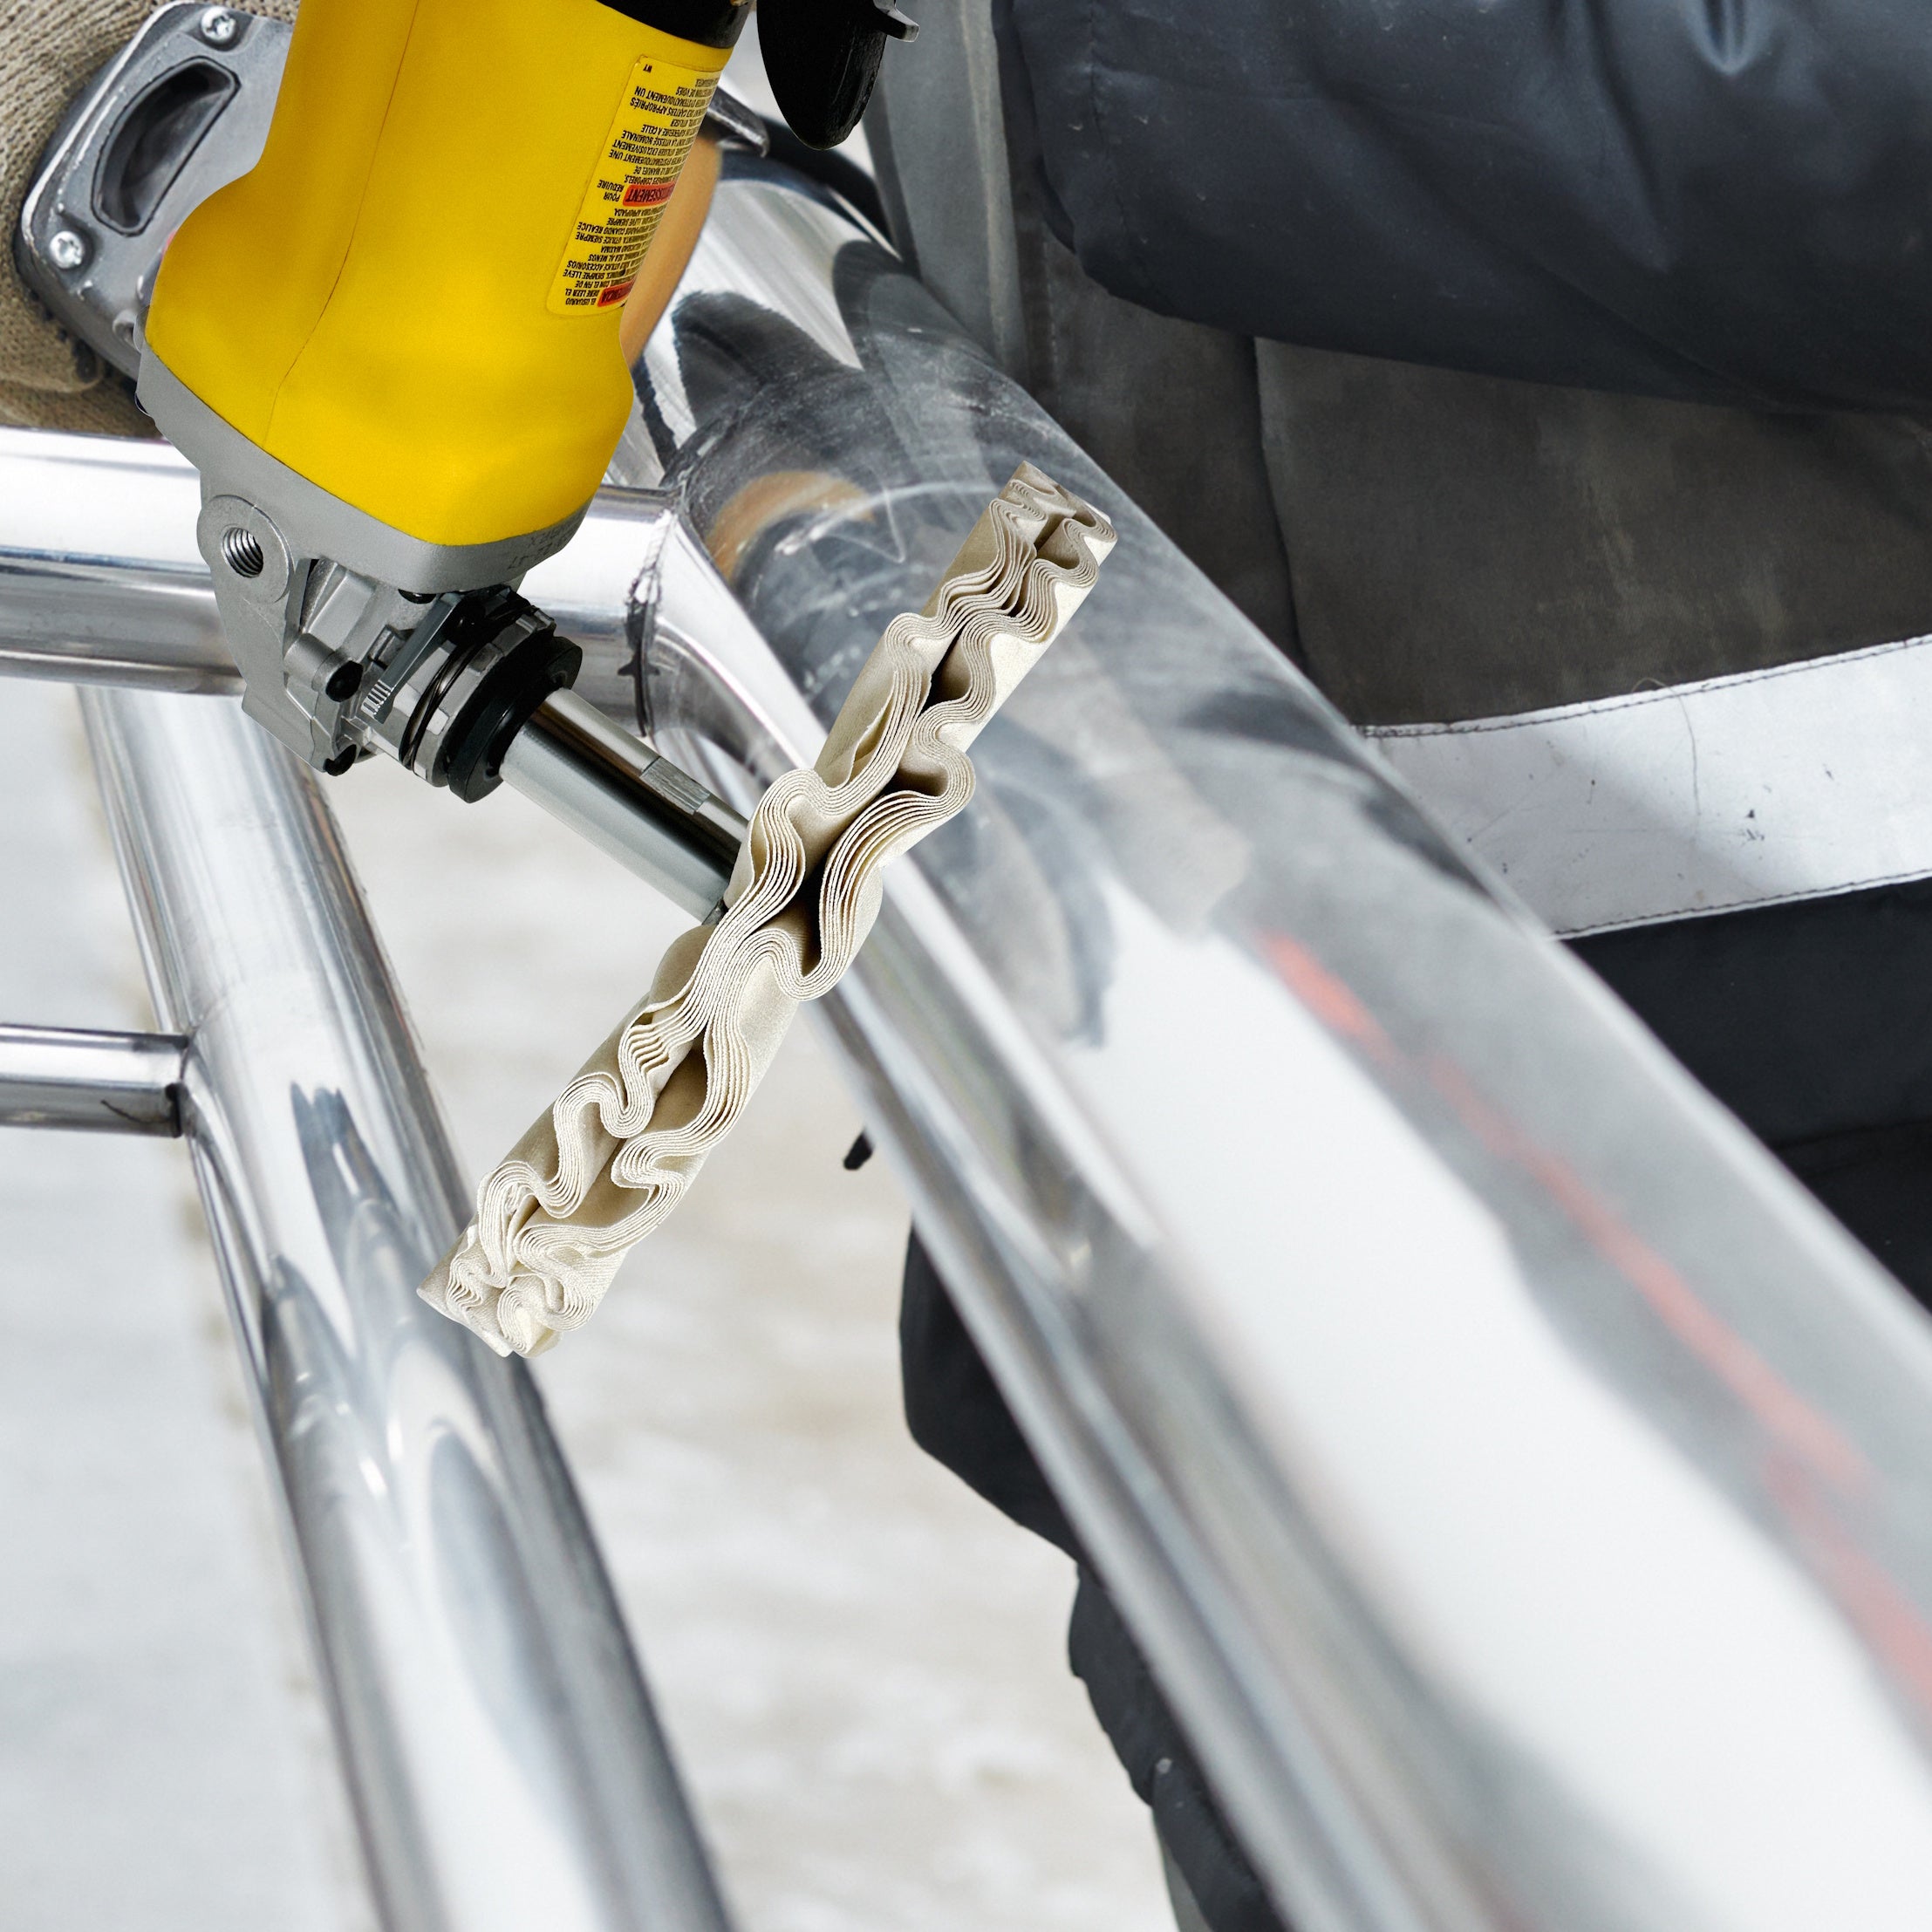
Simply attach the LINE10 Tools wire brush wheel to your drill or impact driver and get ready for the fun part.
Here is the technique for the rear cassette and chain:
-
Spin the pedals backward: This keeps the chain moving while you clean. You want the chain and the brush moving in the same direction so everything stays smooth.
-
Angle the brush slightly (approx. 45 degrees): Don’t jam it straight in. A slight angle gives you more control and helps you avoid skipping or jumping.
-
Use very light pressure: Let the drill do the work. Pushing too hard doesn’t clean faster; it just stresses the bristles and risks scratching components.
-
Tackle the cassette in sections: Move the chain out of the way, clean 2 or 3 gear rings, shift gears, and keep going. This ensures you’re hitting every side and every tooth.
💡 PRO TIP: The "Wet Brushing" Secret. Here is the difference between a rookie job and a pro restoration: constant lubrication.
Don't just spray the chain once at the start. As you work, continue to hit the chain and brush with small bursts of WD-40.
-
It cuts cleaner: Dry brushing creates friction and heat. A lubricated brush glides over the surface and lifts rust without stressing the metal.
-
It extends tool life: Heat is the enemy of wire brushes. Keeping the bristles cool and lubricated means the LINE10 wheel wears much more slowly.
Note: This can get messy! Keep a rag or mat on the floor to catch the dripping rust.
Once you see bright metal peeking through and rust dripping onto the floor (where you'll have a rag or mat to catch it). That’s your sign you’re on the right track.
Step 3 - Degrease and Rinse Everything Down!

After knocking off 90% of the rust, you’ll notice the drivetrain looks cleaner but still has leftover grime and WD-40 residue. This is where a degreaser comes in.
Spray a degreaser onto the entire drivetrain. Let it sit for a couple of minutes. Rinse thoroughly with water and soap.
The rinse step is where the magic happens; you’ll literally see the rust and old buildup wash away, leaving bare metal behind.
Step 4 - Dry and Lubricate (Crucial!)
Do not stop at Step 4. You have stripped the metal bare. If you leave it wet, it will "flash rust" (rust again immediately).
-
Dry: Use a clean rag or compressed air to thoroughly dry the chain.
-
Lube: Apply a specific bike chain lubricant (not WD-40) to the chain.
-
Wipe: Wipe off the excess. Now your bike is ready to ride.
Don’t Forget the Front Chainrings

Most people only clean the cassette and chain, then wonder why shifting still feels crunchy. The front chainrings collect just as much rust and grime, especially on older bikes.
The easiest way to clean them (as shown in the video) is to flip the bike upside down for better access. Then just repeat the process. This ensures the whole drivetrain is restored, not just the back half.
The Final Result

By the time you finish, the difference is massive:
- Rust is gone
- Metal shines
- The chain moves smoothly
- Gears shift as they should
- No more grinding noises
You just saved yourself from replacing a chain, cassette, or crankset jobs that can add up
Why This Method Works Better Than Hand Scrubbing
Sure, you could scrub everything by hand with a toothbrush or tiny wire brush… but realistically:
- It takes forever
- You can’t get inside the rollers.
- You can’t clean gear teeth evenly
- You’ll miss spots
- Your hands will hate you.
A powered brush spins fast, reaches deeper, and doesn’t get tired. This is the same process mechanics use for rusty auto parts, scaled down for bikes. And since the bristles are brass-coated steel, they’re tough enough to remove rust but still bike-safe when used correctly.
Final Thoughts
Learning how to restore a rusty bike chain isn’t just a money-saver; it’s a skill every cyclist should have. A clean drivetrain lasts longer, rides smoother, and keeps your bike running like new.
With the LINE10 Tools 4-Inch Wire Brush Wheel Kit, the whole job becomes fast, satisfying, and beginner-friendly. It’s the kind of tool you’ll end up using for tons of metal restoration jobs, not just bikes.
If you want to see the whole process in action, check out the video linked in the original post.


Laissez un commentaire